How to install Dolby Atmos on ANY Android Device

If you want a High Quality Sound Experience like Dolby Atmos on your Android device, then you are on the right place because today we are literally going to install Dolby Digital Technology on your phone. So, let’s see how to get premium sound out of your phone and how to install Dolby Atmos on any android device.
Why should you install Dolby Atmos?
Audio compression technology used by your phone manufacturer can be really bad and audio coming from your android phone’s speaker can lack quality. There is usually no depth in sound and normal voice sounds mumbled.
On the other hand, Dolby is an audio company that uses Dolby Digital audio compression technology in Dolby Atmos that outputs rich quality audio from your android phone’s speakers and through headphones.
Also, Dolby Atmos supports surround sound that will give you 3D sound experience when listening through headphones. Surround sound support will also help you track enemies in games.
So basically, installing Dolby Atmos on your Android will make your average speaker that mumbles on every wordinto a high quality audio emitting…. thing.
Is there a Dolby Atmos alternative?
There was an app called XtremeMusic on XDA that used to output the best audio quality I have ever experienced. It was packed with Beats audio, Dolby Digital, Viper4android and couple of good audio library.
But recently their new versions of XtremeMusic Apps were found leaking private information of users and were removed from XDA ever since.
Since there is no other better apps like XtremeMusic currently, Dolby Atmos is the best choice as of now.
Also Read: How To Increase Internet Speed On Android
How to install Dolby Atmos on Android?
Step 1.

Go to this link and download Magisk Manager for Android device.
Magical mask Magisk can customize your android system systemlessly.
Many developers come with magisk pre- installed on their ROM. Magic comes with great features that will make your android device much better. Developers especially implement the magisk only due to the amazing features of the Magisk and the way in which you can use any application without any problems.
Step 2.
Install latest Magisk if not installed previously. Reboot your device to complete the installation.
Step 3.
Once your android phone rebooted, launch Magisk App and go to Module section from the menu.
Step 4.

Search for “Dolby Atmos”.
And click Install.
Step 5.
Once the installation process is complete, Magisk will ask you to reboot your device.
Read Carefully:
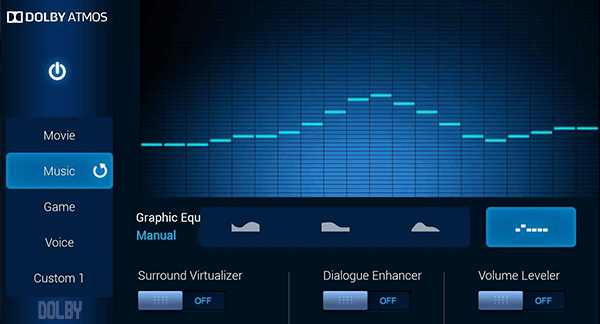
After rebooting, you will find a new app installed called Dolby Atmos. Some some users this app will crash as soon as you launch it.
This is because many android phones come with Linux mode set “enforcing”, which won’t let Dolby Atmos run properly. If you use custom ROM, you shouldn’t really face this problem.
To fix this “Dolby Atmos has stopped” problem, you need to change Linux Mode to permissive.
To do this, download SELinuxModeChanger App. And set Linux Mode to “permissive”.
Once everything is done, you are set to listen to the best audio experience from Dolby Atmos. If you want, you can also download Viper4Android from XDA to increase and tweak audio quality. Now, sound quality on your android phone will have depth and will be crispier and richer than before. If Dolby Atmos app crashes ever again, check if Linux Mode is not set to “Enforcing”. if it is, change it to “Permissive” and reboot your device.
Read More: How to access Deep Web on Android


One thought on “How to install Dolby Atmos on ANY Android Device”
Comments are closed.